Miter saw dust hood: capture the plume without blocking the saw
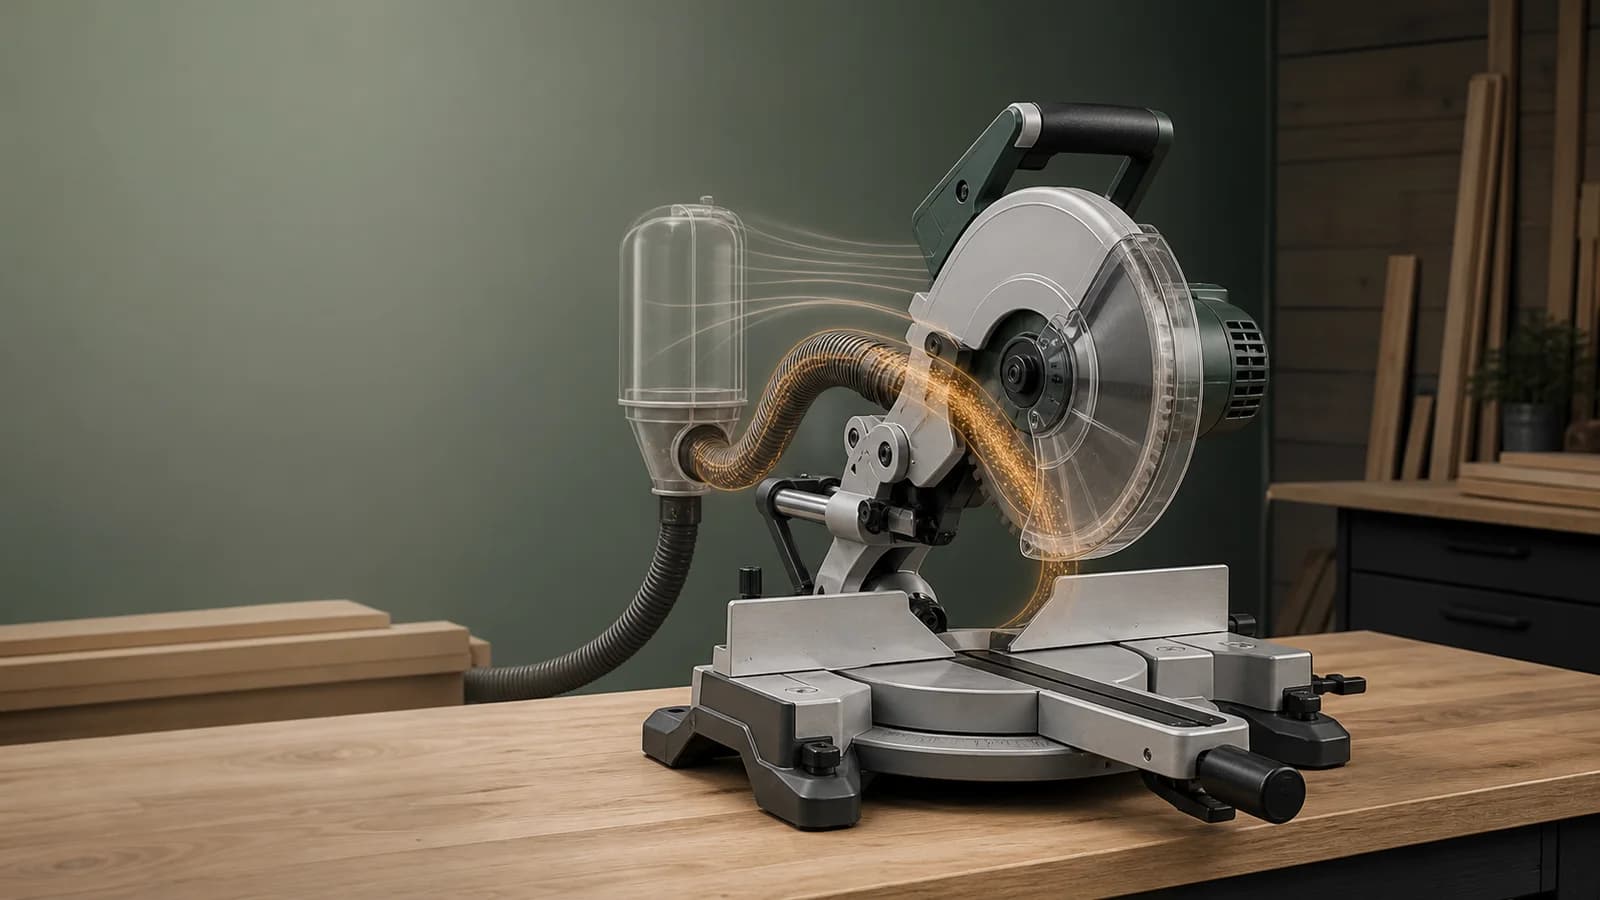
A hood works by intercepting dust where the blade throws it and maintaining airflow through the enclosure. A giant box with a weak connection may collect piles while fine dust still escapes.
How this guide has been updated
- Guidance published with safety and manufacturer references.
Share this page
Put airflow where the blade releases dust.
A miter saw creates a fast rearward plume that changes with head height, slide position, bevel, stock shape, and blade. The factory port captures part of that plume close to the guard; a surrounding hood can intercept what bypasses it.
NIOSH describes local exhaust as an engineering control that captures contaminants near their source. For a miter station, that means reducing open distance around the plume and moving enough air through the useful opening, not merely attaching the largest possible box.
Trace every moving envelope before sizing the hood.
With power disconnected, set the saw through full left and right miters, bevels, slide travel, head travel, fence positions, clamps, and common stock heights. Mark the outer envelope plus space for hands, controls, service, and hose flex.
Rear-rail saws can need substantial depth, while compact glide or forward-rail designs move differently. A hood copied from another model may collide only at a compound angle, which is why the full sweep matters.
- Full slide and plunge path.
- Maximum left and right bevel.
- Fence and clamp movement.
- Motor cooling openings.
- Long-stock entry and offcut exit.
Control leaks and hose losses.
Air follows the easiest path. A wide open front, leaking joints, crushed hose, sharp elbows, loaded filter, or undersized adapter can reduce useful velocity at the plume. Keep the path short and smooth within equipment instructions.
Do not close the hood so tightly that it interferes with operation or starves motor cooling. Use flexible skirts only where they cannot be pulled into the blade, and make panels removable for inspection and cleaning.
Evaluate escape, not just collected volume.
Make repeatable cuts in representative stock with the hood off and on while observing from a safe position under consistent side lighting. Check the front, sides, rear gaps, and breathing-zone direction. Fine dust escaping forward matters even if the hood catches heavy chips.
Re-test at common miters and bevels, with a clean and progressively loaded filter. If capture falls quickly, improve the flow path, port transition, filter maintenance, or enclosure opening rather than assuming the collector label guarantees performance.
Questions readers ask before they start
Does a miter saw dust hood replace the factory port?
Usually it complements the on-tool port. Use every connection and guard configuration according to the saw and extractor instructions.
How big should a dust hood be?
Large enough for the full motion envelope and plume, but not so open that airflow velocity collapses. Measure the exact saw.
Can I use fabric curtains?
Only if the material and mounting cannot enter the blade, block controls, restrict cooling, or create a fire or static hazard.
Check the exact saw manual before changing or adjusting anything.
This guidance combines NIOSH engineering-control principles with the manufacturer instructions for the saw connection. It does not replace exposure assessment or workplace rules.