DIY miter saw dust hood: design from the motion envelope
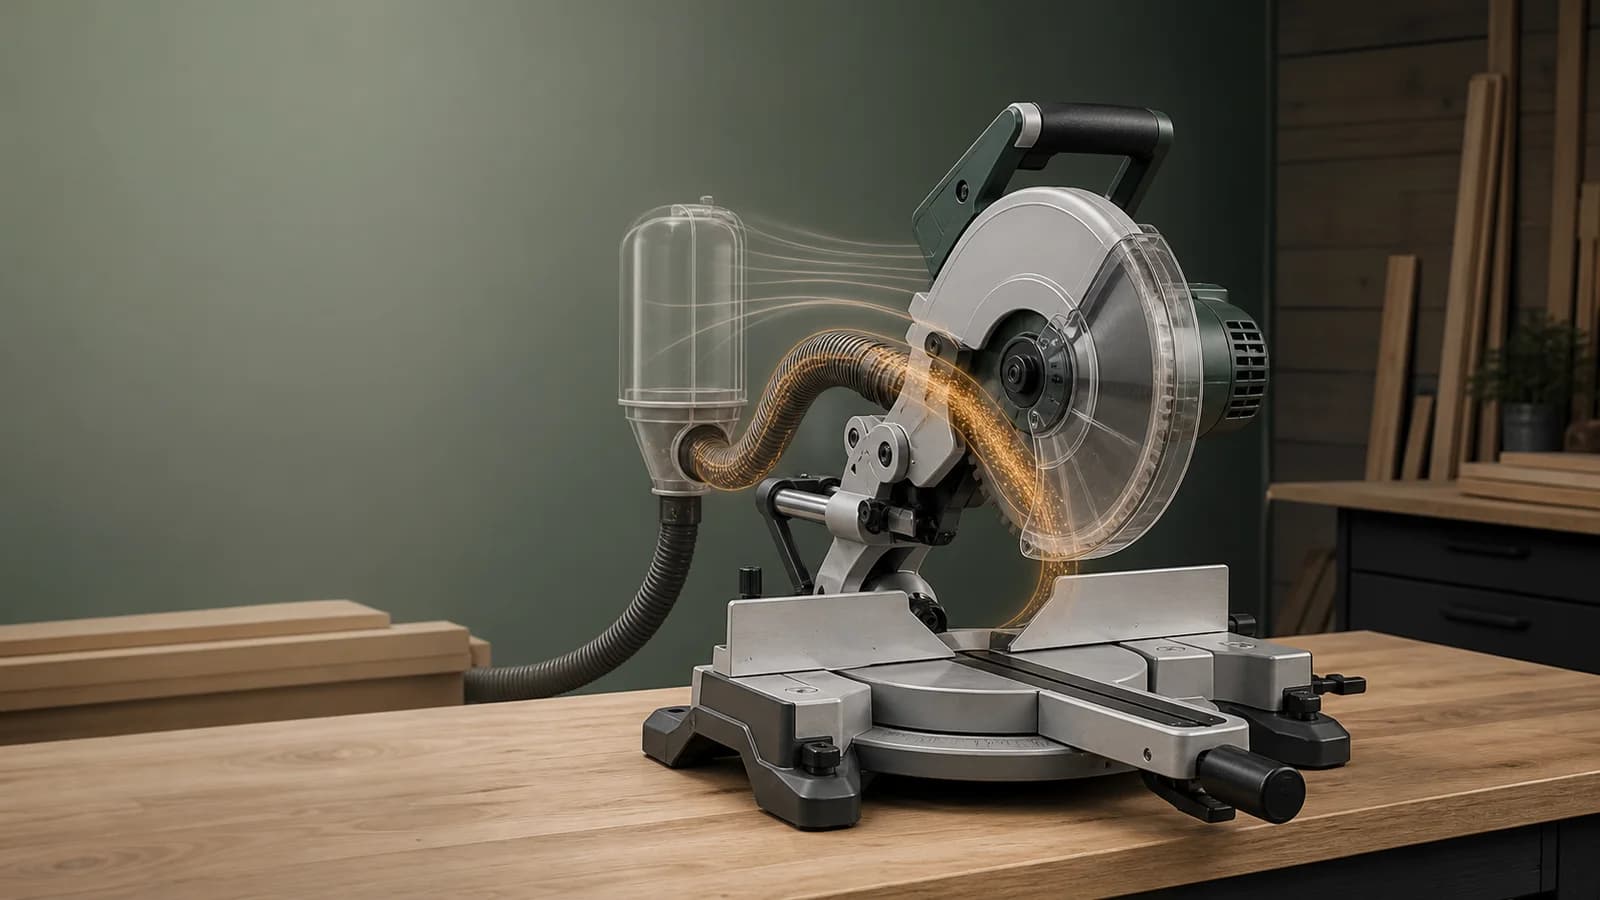
The useful DIY hood is not the smallest box that fits behind the saw. It is a serviceable enclosure that clears every moving part and directs airflow through the dust plume.
How this guide has been updated
- Added a model-specific planning worksheet and explicit limits on generic plans.
- Guidance published with safety and manufacturer references.
Share this page
Create a model-specific plan before drawing a box
We do not have a tested universal hood plan. Use this planning record to decide whether a design is documented well enough to evaluate for your machine.
| Record | Information needed | Check |
|---|---|---|
| Machine identification | Model, type and unmodified guard configuration | Keep the exact manual with the plan |
| Motion envelope | Slide, left/right miter, bevel and stock positions | Document the most restrictive combination |
| Access | Controls, ventilation, blade service and cleaning | Do not trade required access for a smaller enclosure |
| Extraction path | Factory connection, hose routing and support | Follow equipment approvals; avoid unsupported performance claims |
| Evidence | Drawings, photographs and limitations of the finished setup | A photograph alone does not establish safe clearance |
A plan for a fixed-head saw cannot be scaled by blade diameter to fit a rear-rail slider. Start again from the moving parts, stock path and manufacturer restrictions. Until a model-specific design has been checked, use the documented factory extraction connection rather than treating this worksheet as a build authorization.
Make a full-scale movement study before cutting panels.
Place the unplugged saw in its final station and trace the outermost motor, head, rails, guard, handle, fence, clamp, and hose positions through every miter and bevel combination you use. Include hand access, lock controls, blade changes, and long-stock paths.
Add clearance rather than building to the traced line. Flexible hose can bow beyond its resting position, and a knob used only at 45 degrees may be the first collision point.
Bring the enclosure close to the plume, not the blade.
Observe the factory port and rearward chip path from prior safe use or manufacturer diagrams. Place the extraction opening where dust naturally travels and use sloped surfaces that do not create shelves of debris.
Keep the front opening only as large as operation and stock require. Removable side fillers or safe flexible skirts can reduce leakage, but no material may enter the blade path or conceal a moving hazard.
Favor smooth, inspectable, and removable construction.
Use panels and fasteners suitable for the workshop, expected impact, dust, and any fire or static requirements. Smooth interiors shed debris more readily than deep ledges. Provide transparent viewing only with material appropriate to the environment and protected from impact.
Design access panels for cleaning the port, hose, corners, and saw. Do not permanently trap the tool or cover nameplates, vents, outlets, service fasteners, or emergency controls.
- No exposed fastener can enter the work path.
- No panel blocks motor ventilation.
- Hose weight is independently supported.
- Debris can be removed without compressed air.
- The saw can be serviced without dismantling unsafe structures.
Start disconnected, then unloaded, then with scrap.
First perform the entire motion check without power. Next run the saw unloaded from the normal position and listen for contact or changed airflow. Finally make controlled cuts in representative scrap at square, miter, and bevel settings.
Use side lighting to find escaping fine dust. Adjust openings and extraction position one variable at a time, and retest with a loaded filter. Document the final clearances so future saw adjustments do not silently invalidate the hood.
Questions readers ask before they start
Can I copy a dust hood plan for another saw?
Use it only as inspiration. Every model has a different motion envelope, port, controls, cooling, and clearance.
Should the hood be completely enclosed?
No. It needs safe stock and operator access, cooling, and full tool travel while preserving useful airflow.
Where should the dust port go?
Usually behind the rearward plume, but validate the exact saw and cut positions. Keep the flow path smooth and serviceable.
Check the exact saw manual before changing or adjusting anything.
This guidance combines NIOSH engineering-control principles with the manufacturer instructions for the saw connection. It does not replace exposure assessment or workplace rules.