Miter saw dust collection adapter: connect without choking airflow
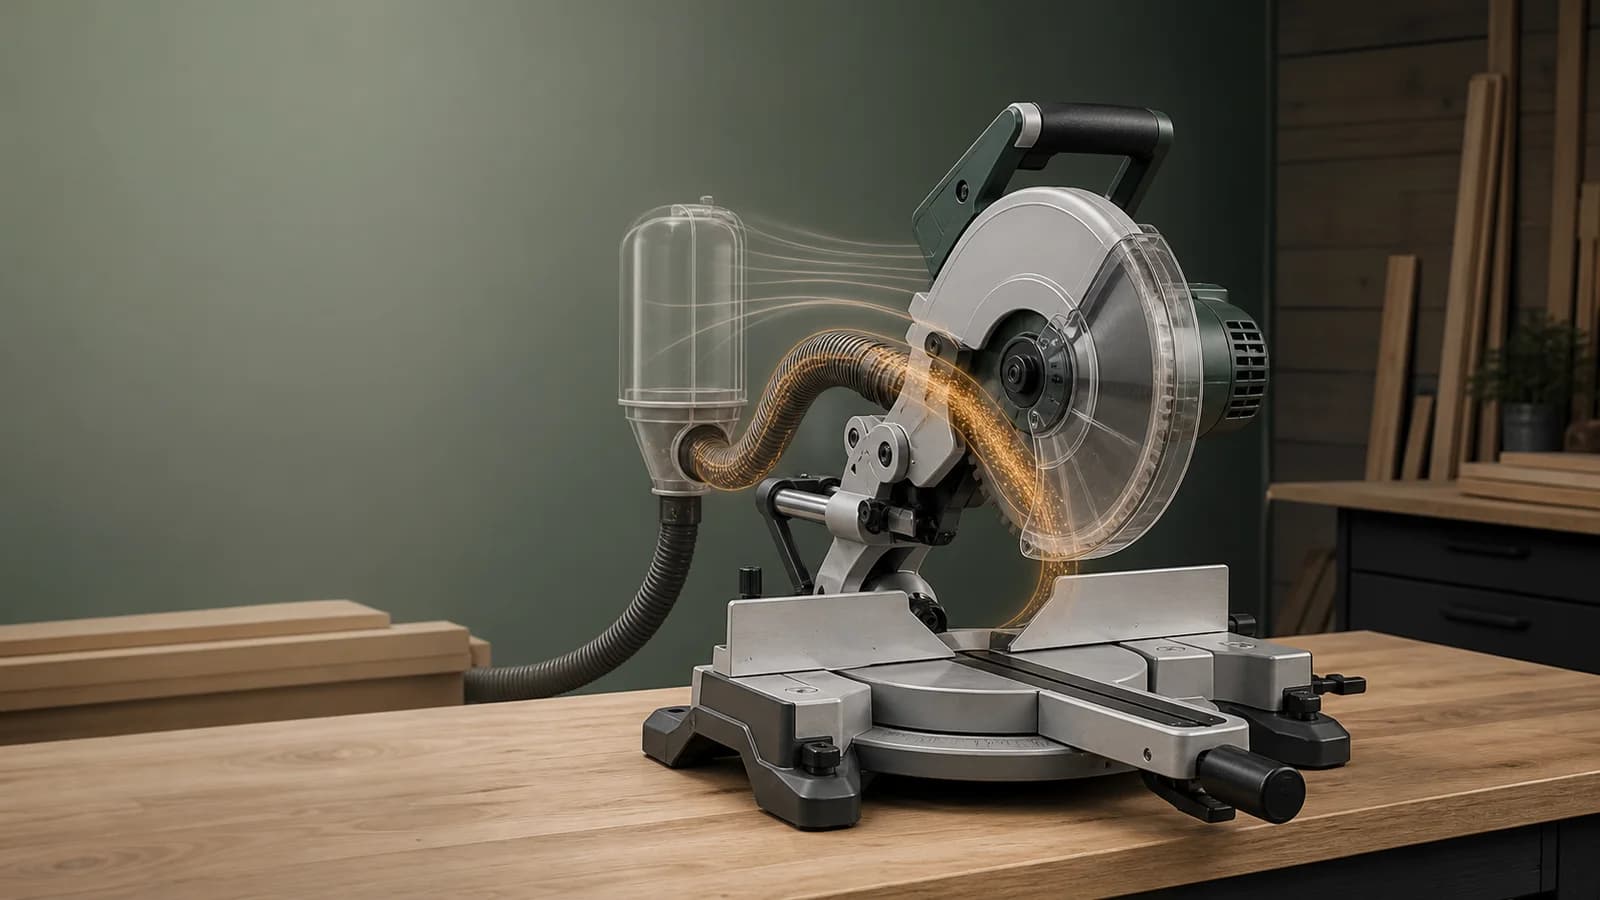
An adapter solves a geometry mismatch, but every abrupt reduction, leak, ridge, and unsupported hose can reduce capture or stress the saw’s plastic port.
How this guide has been updated
- Added the manufacturer-documented GCM12SD/VAC024 example, disclosed the VAC002 source conflict and provided a downloadable connection worksheet. No measured-fit or airflow test is claimed.
- Added a connection-measurement worksheet without assuming model compatibility.
- Guidance published with safety and manufacturer references.
Share this page
A documented example: Bosch GCM12SD and VAC024
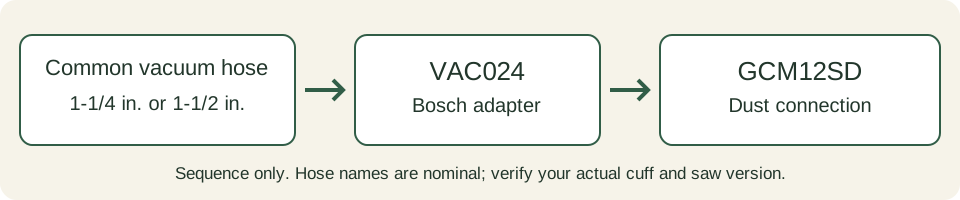
For a GCM12SD and a common 1-1/4-inch or 1-1/2-inch vacuum hose, Bosch lists the VAC024 adapter. This is a manufacturer-documented connection, not a fit test or measurement performed by The Saw Advisor.
| Part | What Bosch documents | What still needs checking |
|---|---|---|
| Saw | GCM12SD lists VAC024 for common 1-1/4-in. and 1-1/2-in. hoses. | Your exact product number, type and extraction arrangement. |
| Adapter | VAC024 lists those hose sizes and GCM12SD compatibility. | The actual hose cuff and how it seats; a nominal hose label is not a measured diameter. |
| Excluded alternative | The current GCM12SD listing explicitly excludes VAC002. | Do not substitute VAC002 on the strength of an older manual alone. |
There is a source conflict: page 19 of Bosch’s 2018 manual names VAC002 or VAC024, while the current saw listing excludes VAC002. VAC024 is the common documented option. If the instructions supplied with your saw differ, ask Bosch about the exact version before ordering.
Sources checked October 21, 2026: GCM12SD accessories, VAC024 compatibility and older manual, page 19.
Before reconnecting power, check that the joint stays seated and the supported hose clears the full slide, miter, bevel and guard movement. This example does not establish airflow, fine-dust exposure control or compatibility with every third-party cuff.
Download the printable connection worksheet (TXT). It includes this documented example and blank fields for your equipment; no signup is required.
Record both ends of the connection
A nominal hose size is not a model compatibility table. This worksheet makes the missing measurements explicit without inventing an adapter fit.
| Record | Information needed | Check |
|---|---|---|
| Saw end | Model/type, male or female, actual inside or outside diameter | Record the measurement point and any taper |
| Hose end | Cuff model, mating diameter and locking geometry | Identify which part fits over the other |
| Transition | Approved adapter model and insertion/locking method | Check both manufacturers’ connection instructions |
| Working clearance | Slide, bevel, guard, stock and hose support | Check with power disconnected before operation |
Illustrative measurement only: a 40 mm outside-diameter outlet and a 40 mm outside-diameter hose cuff do not mate just because the numbers match. The connection needs a documented receiving geometry or an approved transition. This example is not a dimension or compatibility claim for any saw in our reviews.
Nominal hose names are not connection dimensions.
Use calipers or a reliable ruler to measure whether each connection is male or female and record the actual outside diameter of the part entering and inside diameter of the receiving socket. Check for taper, locking tabs, bayonets, or manufacturer-specific geometry.
Do not order from a phrase such as “2-1/2 inch shop vac” alone. Hose cuffs, accessory ports, and saw outlets frequently use nearby but different dimensions. An adapter that almost fits can leak or split the port.
Use the gentlest transition that the system allows.
A sudden reduction raises resistance, and internal steps can collect chips. Keep the adapter short, smooth inside, and consistent with the saw and extractor requirements. Avoid a chain of reducers that creates multiple leaks and ridges.
If the saw port is small, the adapter cannot create airflow the port and guard channel do not support. Improve collection around the plume with an approved hood or enclosure rather than expecting a larger hose beyond a narrow throat to solve everything.
Separate extraction weight from the moving saw.
Route the hose from an overhead boom, wall bracket, or flexible support that keeps its weight off the port while preserving the manufacturer’s movement and cooling clearances. Leave enough slack for full miter, bevel, slide, and plunge travel without a loop falling toward the blade.
With power disconnected, sweep every combination slowly. Watch the adapter joint, hose bend radius, rails, motor vents, clamps, and long stock.
Fix leaks without making the joint permanent or unsafe.
Use a manufacturer-approved gasket, cuff, or clamp that cannot loosen into the tool. Avoid tape layers that hide cracks, leave adhesive in the port, or prevent emergency removal and service.
Start testing with a clean filter and empty container. Compare visible escape at square, miter, and bevel cuts. Recheck after the filter loads; a good adapter cannot compensate for an extractor that has lost airflow.
Questions readers ask before they start
What size adapter does my miter saw need?
Measure the exact port and hose connection; nominal accessory sizes are unreliable. Check the saw manual for approved connectors.
Does reducing hose size increase suction?
It changes velocity and resistance but does not create capacity. Excess reduction often lowers total airflow and capture.
Can I 3D-print an adapter?
Only after assessing fit, strength, heat, static, fire, impact, and manufacturer restrictions. Support the hose so the printed part is not structural.
Check the exact saw manual before changing or adjusting anything.
This guidance combines NIOSH engineering-control principles with the manufacturer instructions for the saw connection. It does not replace exposure assessment or workplace rules.