Buying guides
Best Miter Saw for Beginners: 3 Sensible First Saws
A first-saw shortlist that favors understandable controls and enough capacity for real projects—not the largest machine on the shelf.
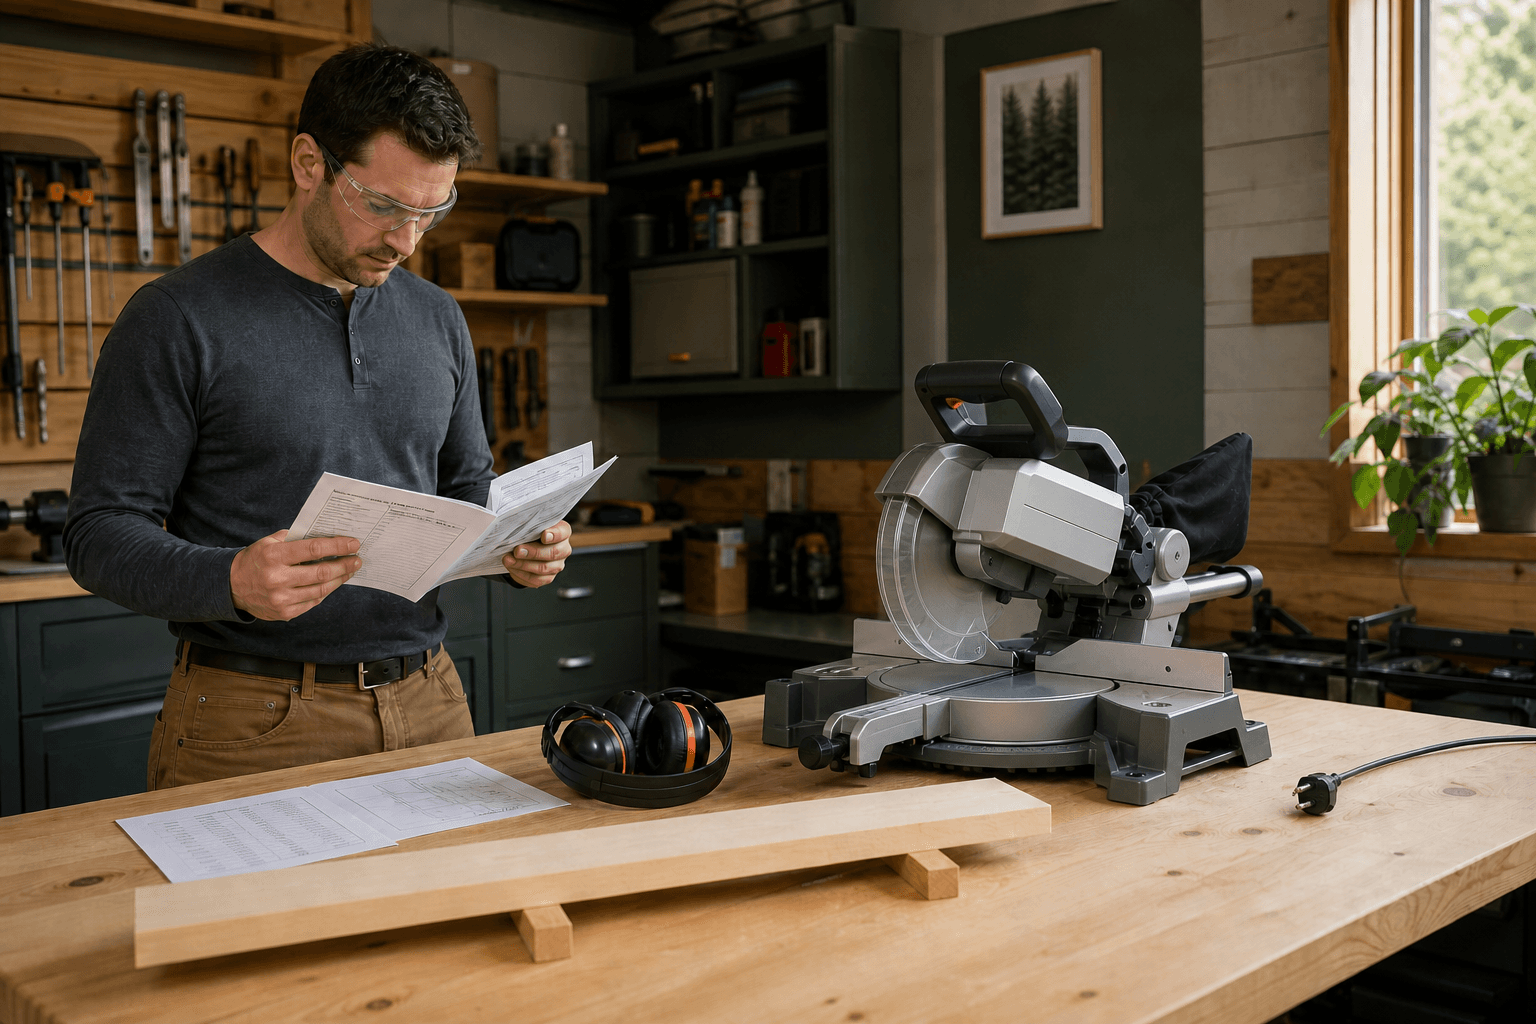
The quick answer
The Metabo HPT C10FCG2 is the most sensible first miter saw for many beginners whose projects fit ordinary 2x6 crosscuts: it is a fixed 10-inch model, weighs a manufacturer-listed 24 pounds, has nine common-angle detents and uses a shadow line to show the blade path. Choose the DeWalt DWS713 when you value a straightforward fixed platform and 14 positive miter stops, or the SKIL MS6305-00 when your verified cut list genuinely needs 2x12 capacity, sliding reach and bevels in both directions.
A beginner does not automatically need the cheapest, smallest or most powerful saw. Start with the material dimensions and angles in the first three projects, then choose the simplest documented machine that completes those cuts. A fixed 10-inch compound saw is easier to place and learn than a large slider; a slider earns its extra space only when shelving, wide boards or opposing bevels are recurring work.
How this guide has been updated
- Article published with product references and related reading.
Share this page
Use this article with our best miter saw shortlist, then check the safe operating guide before planning the cut.
Relevant options
Three first-saw options for different beginner cut lists
Research-based recommendations, not hands-on tests. Compare the exact model, package and manufacturer specifications before ordering.
Best first fixed saw for portability
Metabo HPT C10FCG2
Best for: Beginners cutting common 2x lumber, trim and small projects on a shared bench or between work areas.
- 10-inch fixed single-bevel design
- Published 2x6 capacity at 90°
- 24-pound manufacturer-listed weight
Review context: Metabo HPT publishes 2x6 capacity at 90 degrees, 2x4 at 45 degrees, nine miter detents, a shadow cut line and a 24-pound tool weight.
Consider: The fixed head and single-left bevel do not cover wide shelving or frequent opposing-bevel work.
Official specificationsChecked August 30, 2026
Best straightforward control layout
DeWalt DWS713
Best for: A beginner who values a fixed workhorse with many common-angle stops for trim, frames and dimensional lumber.
- 10-inch fixed compound design
- 14 positive miter stops
- Published 4-1/4-inch vertical base support
Review context: DeWalt documents a fixed 10-inch design, 14 positive miter stops, 4-1/4-inch vertical baseboard support and mainly left-side bevel adjustment.
Consider: Its fixed head cannot crosscut a 1x12 in one pass, and the limited right bevel makes opposing bevel workflows slower.
Official specificationsChecked August 30, 2026
Best when first projects include wide boards
SKIL MS6305-00
Best for: Beginners whose measured plans include 1x12 shelves, wider framing stock or bevels on both sides.
- 10-inch dual-bevel sliding design
- Published 2x12 capacity at 90°
- 11 positive miter stops
Review context: SKIL publishes 2x12 capacity at 90 degrees, 2x8 at 45 degrees, dual bevel, 11 common-angle stops and an LED shadow line.
Consider: The slide rails need more operating depth, and the extra bevel and carriage controls add setup that narrow crosscuts do not require.
Official specificationsChecked August 30, 2026
Why this is different from our general miter-saw roundup
Our overall roundup weighs broad capacity, professional workflow, portability, bevel range, footprint and long-term versatility. This guide answers a narrower first-purchase question: which current saw has understandable controls, manageable size and enough verified capacity for a beginner’s actual projects without buying complexity in advance.
That distinction changes the ranking. A heavy 12-inch dual-bevel slider can be a capable shop machine, yet it may be a poor first choice for someone cutting picture-frame stock, 1x shelving and occasional 2x4s on a shared garage bench. Here, unused capacity counts as added footprint, blade cost and setup—not as an automatic advantage.
Write three first projects before choosing a saw
Turn vague plans into a cut list. A planter made from standard 2x4 material needs square crosscuts and perhaps simple miters. A picture frame needs repeatable 45-degree miters in narrow molding. A 1x12 shelf needs roughly 11-1/4 inches of square crosscut reach, which immediately separates most fixed saws from an appropriate slider.
Record the actual width, thickness, cut angle, bevel and number of repeated parts for each project. Compare those figures with the manufacturer’s capacity table at the required angle; do not infer capacity from blade diameter alone. If sheet goods or ripping dominate the list, a miter saw is not the primary tool—review the circular-saw and table-saw comparison before buying.
What size miter saw is best for a beginner?
A 10-inch saw is the practical starting class for many home users because current fixed models can handle common dimensional lumber while using widely available blades. A 7-1/4-inch saw can be lighter and more compact, but capacity varies sharply by model. A 12-inch saw adds height and width potential at the cost of a larger machine and blade.
Use size as a consequence of the cut list, not the first decision. For example, both the Metabo HPT C10FCG2 and DeWalt DWS713 document common 2x6-class square capacity. The 10-inch SKIL slider documents 2x12 at 90 degrees. Those published differences matter more than a generic rule that one diameter is always best.
Should a first miter saw slide?
Choose a fixed head when recurring stock fits its capacity. Fewer moving components mean a shallower operating envelope and a simpler sequence for square crosscuts and common miters. That makes a fixed saw a strong teaching platform for learning stock support, fence registration, clamp use and waiting for the blade to stop.
Choose a slider when the project list repeatedly exceeds fixed-saw width. Follow the exact manual because slide-cut technique is model-specific; OSHA describes bringing the head out over the work, lowering it and pushing back toward the fence. Never pull an operating slider through stock merely because the carriage can move that way.
Beginner-friendly controls that actually matter
Look for a legible miter scale, positive stops at common angles, a secure miter lock, an accessible bevel lock, a work clamp, a guard that closes smoothly and a clear manual. A shadow line can show the width and position of the installed blade rather than projecting an unrelated laser line, but it does not replace marking, alignment or a scrap test.
Check every control with the saw disconnected. The head, table and fence should lock without forcing them; the lower guard should move freely and close completely. If a new or used tool has a damaged guard, missing clamp, unreadable scale or uncertain wiring, stop and obtain manufacturer-approved service rather than treating repair as the first lesson.
Plan the complete working envelope
Measure bench depth with the head raised, lowered, fully beveled and—on a slider—through its entire carriage travel. Add room for the dust bag or hose, cord, clamp handles and your body position. Then plan level stock support on both sides without blocking the cutoff or creating a trip route.
A compact saw on an unstable card table is not a beginner-friendly setup. Fasten the machine exactly as its manual directs to a rigid bench, stand or approved plywood base. For a 6-foot board, support the full length at table height; never ask another person to become an improvised moving stand close to the blade.
Use the supplied blade only for an approved first task
Confirm blade diameter, arbor, kerf, tooth geometry, maximum speed and approved material against both the blade and saw manuals. The general-purpose blade supplied with a saw may suit practice cuts in ordinary wood but may not deliver the finish required for veneered molding or laminate.
Begin with straight, dry scrap that matches the intended project and is free of nails, screws and loose knots. Make a powered-off dry run first, then a test cut using the manual’s procedure. Do not start with metal, warped offcuts, tiny pieces or compound crown molding merely to explore every control.
A safe first-cut routine
Read the entire manual, wear eye and face protection, add appropriate hearing protection, tie back hair and remove jewelry. Inspect the guard and blade, mount the saw securely, support the work level with the table and mark the waste side. Disconnect power before adjustments that require hands near the blade.
For the cut, keep the stock flat against table and fence, clamp it where directed and keep hands outside the manufacturer’s no-hand zone. Let the motor reach speed, complete the approved cut without steering the stock, release the trigger and hold the head down until the blade stops. Raise the head only after complete stop, then remove offcuts. Never cut freehand or reach behind a moving blade.
Choose with a five-point beginner scorecard
Score each candidate against the real work rather than online superlatives. Capacity is pass or fail at every required angle. Next compare the complete footprint, carry weight, clarity of controls, available manual and parts support, and the extra operations you would need to learn.
The winning saw should leave capacity margin without creating an oversized station. If two simple fixed models pass every cut, prefer the one whose controls and support plan make sense to you in person. If only a slider clears the 1x12 shelf or wide stair part, accept the added setup because it solves a measured need—not because sliding sounds more advanced.
- Every planned cut fits the published capacity at its exact angle
- The complete saw motion fits the available bench and stock supports
- Guards, clamp, locks and instructions are present and understandable
- Blade and accessory specifications are current and obtainable
- The machine avoids features your first projects will not use
At a glance
What makes this shortlist useful
- Three picks map to distinct beginner project lists
- Capacity and weight come from current manufacturers
- Fixed saws are not penalized for having fewer mechanisms
- Safety and workspace are part of the purchase decision
Limits to decide before buying
- No single saw fits every first project
- A slider adds depth and technique to learn
- Published capacity still requires exact stock measurement
- The supplied blade may not suit every finish material
Frequently asked questions
Should a beginner get a 10-inch or 12-inch sliding miter saw?
Start with the project cut list, not a 12-inch slider by default. A 10-inch fixed or sliding saw covers many home projects with less size; choose 12 inches only when verified height, width or angle capacity requires it.
What is the best miter saw for home DIY?
For ordinary 2x lumber, trim and small projects, a current fixed 10-inch compound saw is often the simplest fit. Add a slider only when shelves or other wide stock repeatedly exceed the fixed model’s published capacity.
Should a beginner get a 7-1/4-inch or 10-inch miter saw?
A 7-1/4-inch model can be compact and portable, while a 10-inch model generally offers more capacity and broader blade availability. Compare exact model capacity, weight and project dimensions instead of choosing by diameter alone.
What size miter saw is best for home use?
Ten inches is a useful starting class for many homes, but the correct size is the smallest supported model that clears every recurring cut at the required miter and bevel angles.
Sources and verification
Specifications and material guidance were checked on the dates shown. Always confirm the current manual for your exact saw, blade and decking product.
- OSHA miter-saw guarding and safety measuresChecked August 30, 2026
- Metabo HPT C10FCG2 official specificationsChecked August 30, 2026
- DeWalt DWS713 official specificationsChecked August 30, 2026
- SKIL MS6305-00 official specificationsChecked August 30, 2026