10-inch miter saw blades: fit before tooth count
A 10-inch label confirms only one dimension. The useful choice comes from matching the exact saw, material, cut quality, and blade specification as a complete system.
How this guide has been updated
- Guidance published with safety and manufacturer references.
Share this page
Read the saw nameplate and blade section together.
Find the specified blade diameter, arbor size, no-load speed, permitted plate or kerf limits, and installation hardware in the manual. Compare every value with the blade packaging before opening it. A correct center hole is not enough if the blade speed rating is too low or the plate cannot be clamped properly.
Keep the original flanges, washers, bolt, and any manufacturer-specified adapter in their documented orientation. Improvised bushings or stacked hardware can prevent full seating and may move the blade outside its intended guard path.
- Specified 10-inch diameter.
- Exact arbor or approved adapter arrangement.
- Blade maximum RPM at least as high as saw speed.
- Correct rotation arrow and flange orientation.
- Material and operation approved by both manufacturers.
Use the finish target to narrow tooth count.
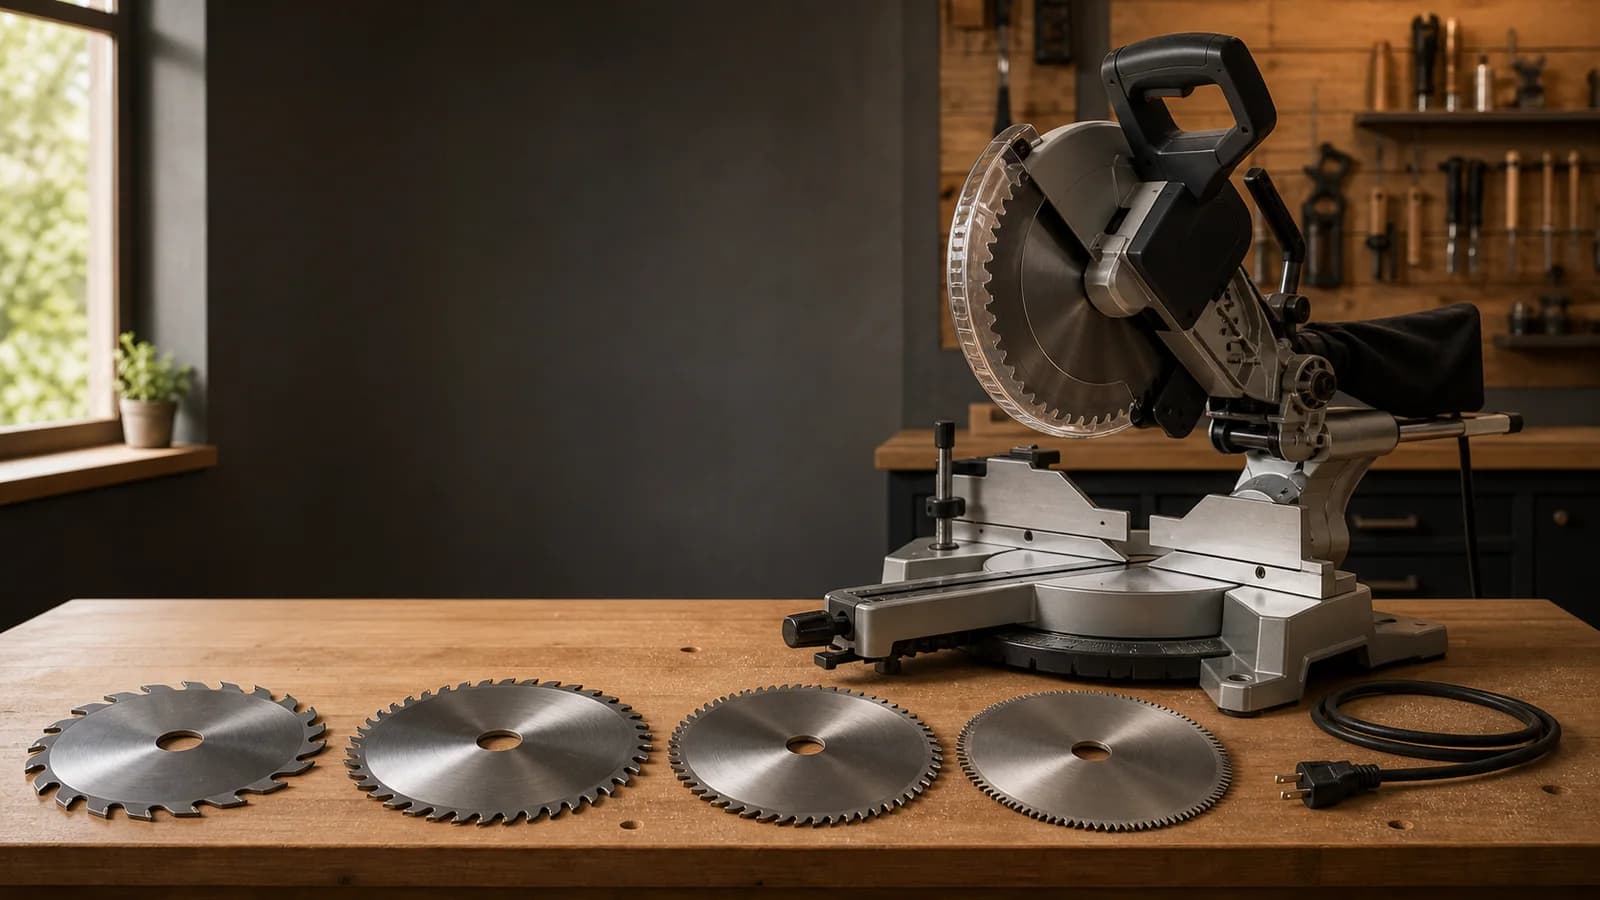
A moderate-tooth carbide blade is the sensible starting point for everyday crosscuts in common lumber because it balances chip clearance and surface quality. Increase tooth count when the visible edge on trim, molding, or finished stock matters more than feed speed.
Very fine blades are not automatic upgrades for thick or wet stock. More teeth sharing the cut can mean smaller bites, but insufficient chip space, resin buildup, or aggressive feeding can create heat. Follow the blade maker’s material and thickness range.
Coarser crosscut blade
Fast chip clearance and acceptable edge
Moderate tooth count
Balanced speed and finish
Fine crosscut geometry
Material thickness and feed guidance
Purpose-built blade only
Saw and blade both approve the material
Blade diameter does not describe the whole saw.
Two 10-inch saws can have different crosscut width, vertical baseboard capacity, fence clearance, and bevel capacity. Use the saw’s capacity table at the intended miter and bevel setting rather than transferring a measurement from another model.
If stock barely fits, change the process or tool rather than removing guards, lifting the work, or making an unsupported partial cut. Capacity is a geometry limit, not a challenge to solve with extra pressure.
Inspect by hand before restoring power.
With power disconnected and the head secured as the manual directs, rotate the blade by hand through a complete revolution to check for contact. Restore guards and verify movement before reconnecting power. Make a controlled test cut in representative scrap with the stock fully supported.
A clean test cut confirms only the current setup. Recheck the fastener and blade condition at the interval specified by the manufacturer, and stop immediately for unusual vibration, sound, or visible wobble.
Questions readers ask before they start
What tooth count is best for a 10-inch miter saw?
It depends on material and finish. Moderate counts suit mixed wood crosscuts; higher counts are commonly chosen for finer trim, subject to blade-maker guidance.
Can I use a 10-inch table-saw blade on a miter saw?
Only when the blade manufacturer rates it for the miter-saw application and all saw specifications match, including geometry and maximum RPM.
Do all 10-inch blades use the same arbor?
No. Confirm the printed arbor specification and any approved adapter arrangement for the exact saw.
Check the exact saw manual before changing or adjusting anything.
The selection checks below follow OSHA guarding guidance and current manufacturer manuals. Your exact saw and blade instructions remain controlling.