Saw accessories
Miter Saw Zero-Clearance Inserts: What They Do and How to Choose
A model-first guide to cleaner supported crosscuts without confusing an accessory with a safety device.
The quick answer
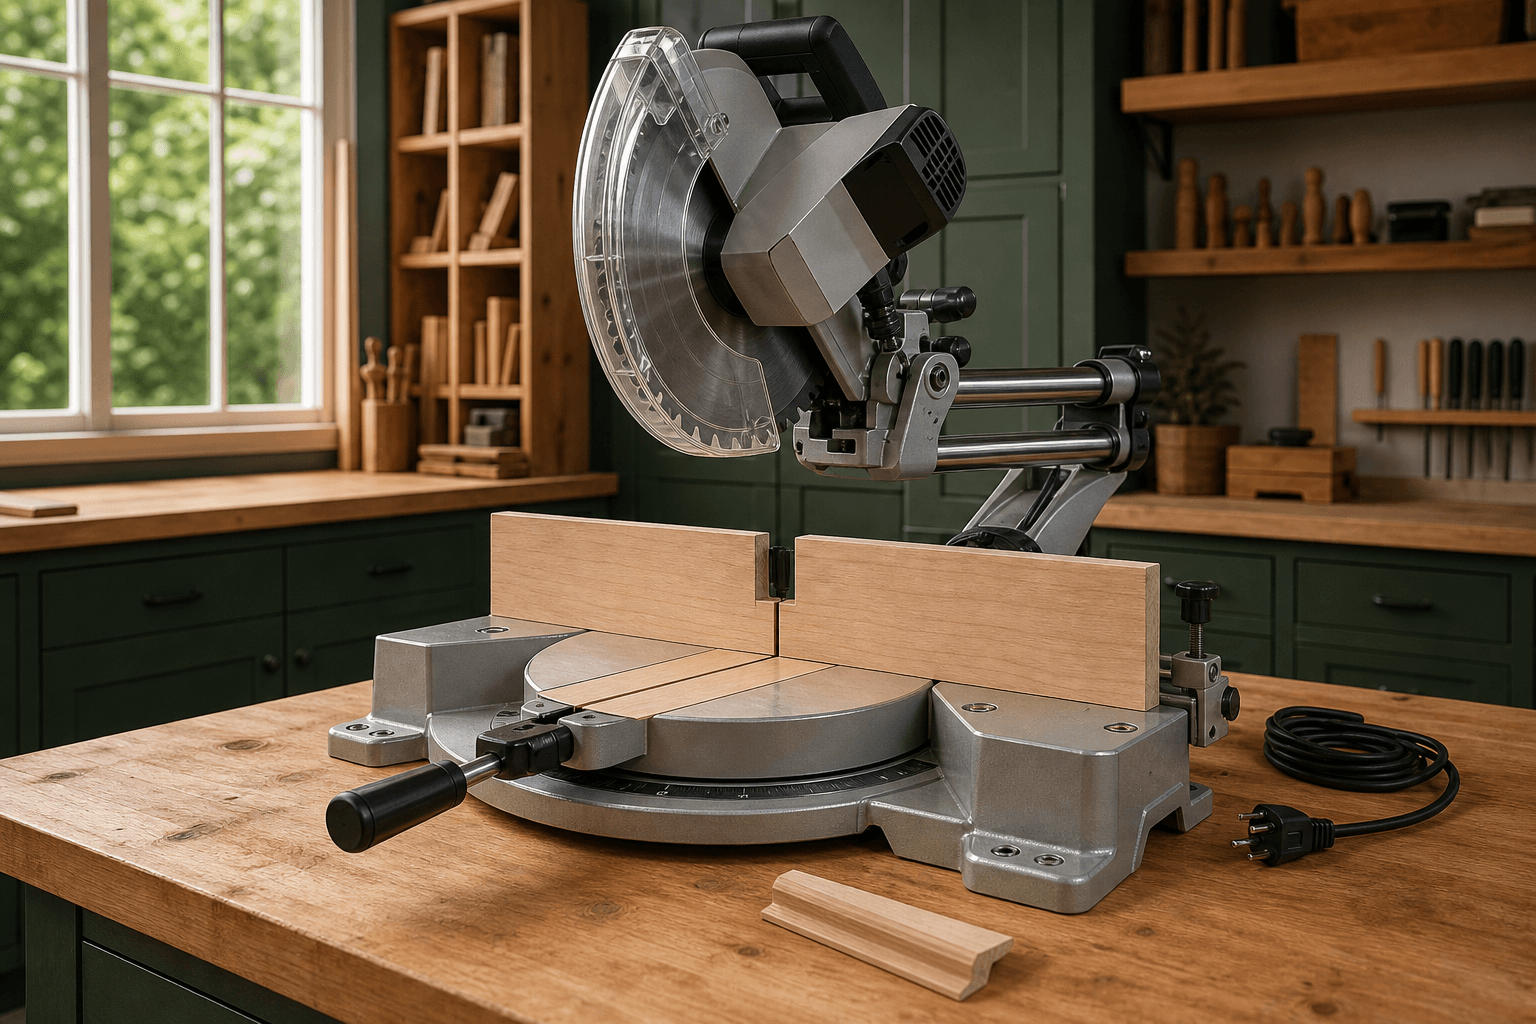
A miter saw zero-clearance insert closes the wide opening around the blade with a replaceable surface that the blade cuts to its own kerf. The close support can reduce underside tear-out, provide a precise cut-line reference and keep very small chips from dropping into a broad throat opening. It does not make a miter saw safe by itself and never replaces the factory guard, clamps, stable support or the no-hand zone in the saw manual.
Choose by exact saw model, throat dimensions, blade kerf and the angles you actually cut. A rigid model-specific insert is the durable choice when it is explicitly compatible. Zero-clearance tape is a lower-commitment option for many saws. A sacrificial fence supports fibers at the back face, while a throat insert supports the underside; the two solve different edges of the cut.
How this guide has been updated
- Consolidated the overlapping guide into this article and added a practical decision checklist.
Use this article with our best miter saw shortlist, then check the safe operating guide before planning the cut.
Relevant options
Two verified zero-clearance approaches
Research-based recommendations, not hands-on tests. Compare the exact model, package and manufacturer specifications before ordering.
Best adaptable overlay
FastCap Zero Clearance Tape
Best for: Woodworkers who want a replaceable throat overlay and cut reference across compatible miter-saw tables.
- Five 2-by-16-inch strips
- Durable PVC peel-and-stick overlay
- Cut-line reference created by the installed blade
Review context: FastCap specifies durable PVC strips that apply over the throat, reduce chip-out and create an exact blade reference. The five-pack format makes it practical to renew the surface after a blade or angle change.
Consider: It is an overlay, not a rigid replacement plate; the receiving surface must be clean and recessed enough that the tape cannot lift the workpiece.
Official specificationsChecked August 10, 2026
Best for listed DeWalt sliders
Leecraft DW-4Y Zero-Clearance Insert
Best for: Owners of a specifically listed DWS779, DWS780, DWS782, DHS790 or DHS780 who want a rigid replacement insert.
- Model-specific DW-4Y fit list
- Phenolic laminate with melamine surface
- Approximately 17-3/8 by 3-1/4 by 3/8 inches
Review context: Leecraft's published model information describes a high-density phenolic plate with a bonded melamine surface, installed with the saw's existing insert screws. Exact model and dimensions must be checked before ordering.
Consider: It is not universal, and a kerf made for one blade and angle may not remain zero clearance after a bevel or blade change.
Official specificationsChecked August 10, 2026
What is the point of a zero-clearance insert?
The factory throat opening must accommodate blade movement and may leave the underside of a narrow molding or veneered panel unsupported close to the teeth. A fitted insert narrows that gap. FastCap describes its PVC overlay as a way to reduce chip-out and create an exact alignment reference; Leecraft describes its phenolic inserts as supporting the work close to the blade and reducing bottom-side splintering.
Consider a 1/2-inch prefinished plywood shelf crosscut at 90 degrees. A sharp, compatible crosscut blade and stable work support remain the primary setup, but a fresh narrow insert can support the face veneer at the exit side below the board. It cannot correct a dull blade, excessive feed pressure, loose stock or a saw that is out of square.
Insert, strip or fence: choose the right type
A model-specific throat plate replaces the factory plate and is cut once for a particular blade and angle. Tape or overlay strips cover the existing throat and are easier to replace. A sacrificial fence mounts against the factory fence and is cut by the blade to support the rear face of molding or trim.
For repeated square casing cuts, a throat insert plus a sacrificial fence may support both the underside and back edge. For a project that alternates between 90-degree cuts and opposing bevels, tape may be easier to renew because every new bevel widens the slot. Never let an added fence or overlay interfere with the lower guard, motor housing, rails, clamps or published cutting capacity.
- Rigid insert: best when the maker lists your exact saw model and the plate sits perfectly flush.
- PVC overlay: useful when you want a replaceable cut reference without changing the factory plate.
- Sacrificial fence: supports the back face but must preserve all guard and saw clearances.
- No insert: the correct choice when the saw manual prohibits the modification or compatibility cannot be confirmed.
Five compatibility checks before buying
Model names that look similar can use different throat plates, screw locations or guard geometry. Confirm the full model and type number on the saw, then compare the insert maker's current fit list. Measure the existing plate rather than relying on blade diameter alone.
The Leecraft DW-4Y is a concrete example: its published fit list covers specific DeWalt sliding models including DWS779, DWS780, DWS782, DHS790 and DHS780. It is not a universal DeWalt plate. FastCap's tape is described as working on most miter saws, but the saw still needs a clean, recessed surface that accepts the overlay without lifting the workpiece.
- Exact model and type number, not only brand or blade size.
- Length, width, thickness, screw pattern and leveling method.
- Blade diameter, plate kerf and the blade you plan to keep installed.
- Clearance at every intended miter, bevel and slide position.
- A flush surface that cannot rock, lift the work or contact moving parts.
A safe installation and test sequence
Disconnect the saw from power or remove its battery before touching the throat area. Read both the saw manual and the insert instructions. Remove or cover the factory plate only as directed, clean the supporting ledge and install the replacement with the specified fasteners. A rigid insert must be flush with the surrounding table and remain stable when pressed at every corner.
Before making a kerf, rotate the blade by hand only when the manufacturer's instructions permit it and confirm that the blade, flange, guard and hardware cannot contact the insert. Move the unplugged saw through each intended miter and bevel position. Reconnect power only after the setup passes that dry run, then cut the slot exactly as the insert maker instructs. Stop and remove the accessory if it shifts, lifts the work or restricts the guard.
Why one insert rarely covers every angle
A zero-clearance opening is only zero clearance for the blade path that created it. A left bevel, right bevel, wider-kerf blade or changed alignment cuts a different path and widens the slot. Some users keep separate labeled inserts for common setups; others choose replaceable tape for project-based work.
For example, an insert cut at 90 degrees for square baseboard crosscuts should not be assumed to fit a 45-degree bevel. Perform the full unplugged clearance check again before changing the angle. If a slot becomes wide, damaged or proud of the table, replace it instead of trying to preserve the zero-clearance label.
How to get cleaner cuts beyond the insert
Use a sharp blade whose diameter, arbor, maximum RPM and tooth geometry match the saw and material. Support long stock level with the saw table, hold it firmly against the fence and use the clamp where the manual requires or permits. Let the blade reach operating speed, feed it without forcing and wait for a complete stop before raising the head.
On prefinished molding, make a supported test cut from the same batch and inspect both faces. If tear-out remains, check blade condition, tooth direction, work orientation and saw alignment before blaming the insert. Our blade guide and setup guide cover those variables; the insert is one part of the system, not a substitute for them.
When should you skip a zero-clearance insert?
Skip it when no maker confirms compatibility, when the plate cannot sit flush, when it blocks a guard or clamp, or when you frequently change bevels and blades without a practical way to maintain separate inserts. Also remove a damaged insert before the edge can catch the workpiece.
Do not use a zero-clearance opening as permission to cut tiny loose pieces. Small-parts cutting still requires a manufacturer-approved workholding method, adequate distance from the blade and a setup that prevents the cutoff from becoming trapped. If the work cannot be controlled within the manual, change the method or tool.
Keep a compatibility record for each insert
The former setup guide is consolidated here. An insert should be evaluated as an exact-model accessory, not a universal upgrade. Record saw model and type, insert specification, blade configuration and the approved range of cuts. A fit at square does not establish clearance for every bevel or sliding position.
Do not use this record as permission to make a powered clearance cut or alter the saw. Follow the manufacturer’s accessory and adjustment instructions. Recheck the documented setup when the blade or accessory changes; a close kerf cannot compensate for damaged parts or poor stock support.
| Record | What to identify | Why it matters |
|---|---|---|
| Machine | Model, type and approved insert | Similar castings can have different attachment details |
| Blade and angles | Permitted blade configuration and cut positions | A kerf made at one angle is not universal clearance |
| Condition | Fasteners, seating and damage | The insert must not rock, lift or interfere with travel |
At a glance
Where zero clearance can help
- Supports fibers close to the kerf
- Creates a physical cut-line reference
- Can reduce underside chip-out
- Replaceable options suit different workflows
Limits that still matter
- Fit is often model-specific
- A bevel or blade change widens the slot
- Incorrect thickness can lift the work
- It never replaces guards or proper workholding
Frequently asked questions
What is a zero-clearance insert for a miter saw?
It is a fitted or overlaid surface around the blade opening that the blade cuts to its own narrow kerf. It supports workpiece fibers close to the cut and can provide an exact physical cut-line reference.
What is the point of a zero-clearance insert?
Its close support can reduce underside tear-out and keep small chips out of a wide throat opening. It does not replace the guard, clamp, stock support, correct blade or no-hand zone.
What are zero-clearance strips for miter saws?
They are replaceable overlays, such as durable PVC tape, applied over a suitable throat surface and cut by the blade. They are easier to renew than a rigid model-specific plate but must remain flat and clear of every moving part.
What is a zero-clearance fence for a miter saw?
It is a sacrificial fence face with a narrow blade slot. It supports the rear face of the workpiece, while a throat insert supports the underside. It must not obstruct the guard, rails, clamps or required movement.
Sources and verification
Specifications and material guidance were checked on the dates shown. Always confirm the current manual for your exact saw, blade and decking product.
- FastCap Zero Clearance Tape product informationChecked August 10, 2026
- Leecraft miter-saw insert model guideChecked August 10, 2026
- DeWalt DWS780 instruction manualChecked August 10, 2026
- OSHA woodworking machine requirementsChecked August 10, 2026