Turn the saw, support, power, and dust path into one stable system
Begin with the complete setup sequence, then choose the mounting, stand, insert, fence, or cut-guide workflow that matches the station.
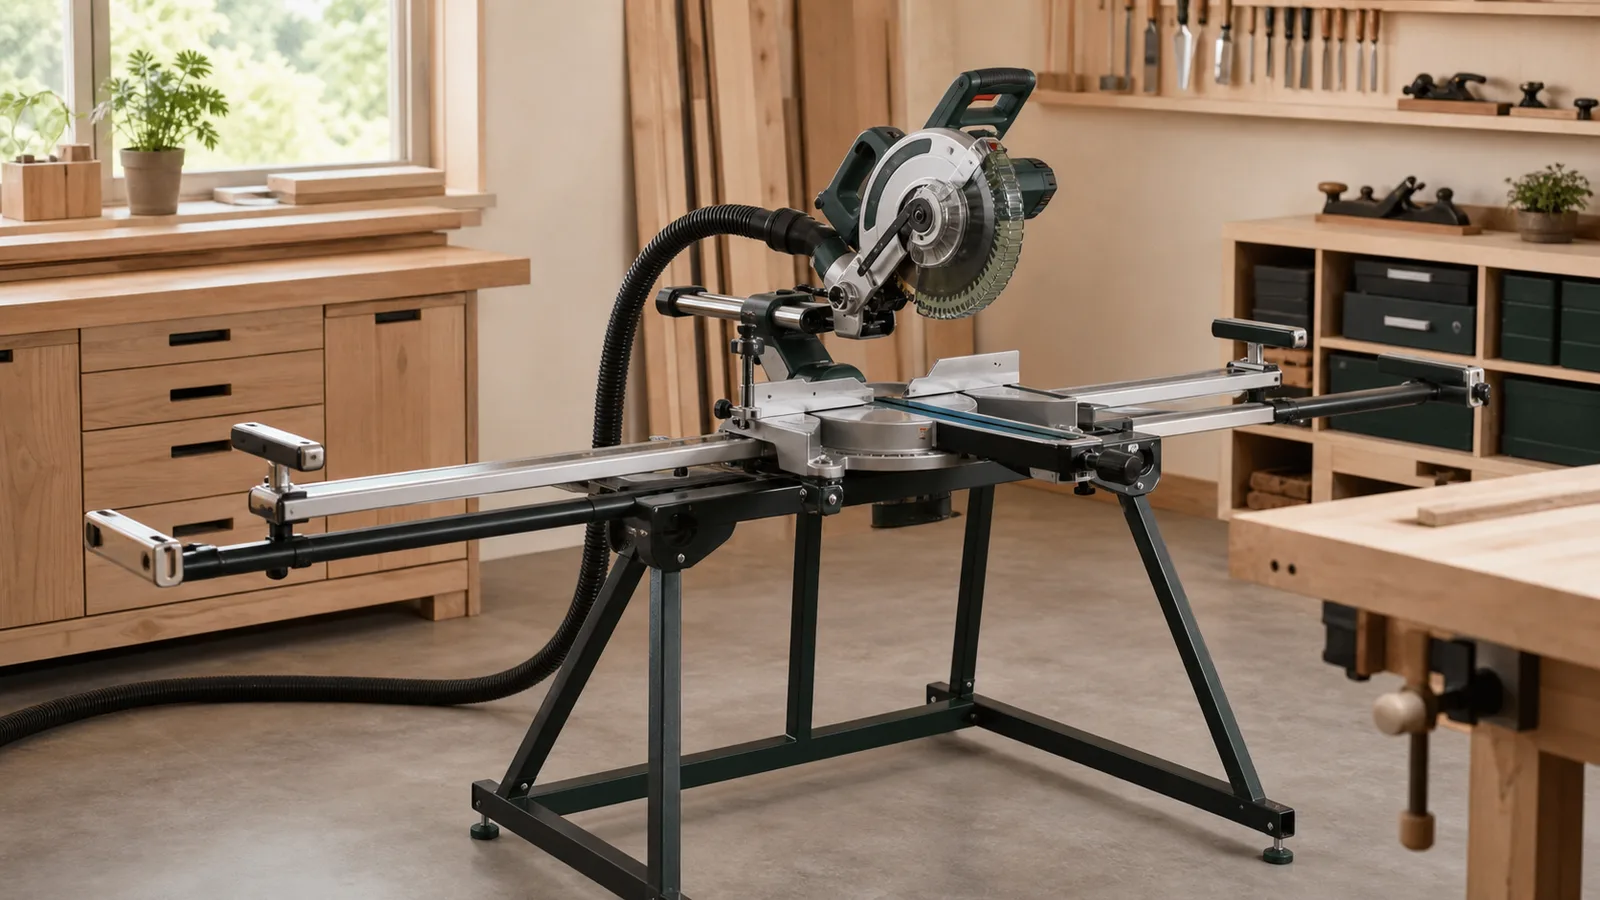
Clearance must be proven at every intended angle.
A station that works at square can collide at full slide, miter, or bevel. Check the guard, motor, handle, fence, clamp, hose, cable, battery, supports, wall, and offcut path with power isolated.
- Manual-first safety
- Specific setup decisions
- No invented testing
Choose the question that matches your setup.
Each guide resolves one distinct decision, then links naturally to the next check in the same workflow.
Miter saw setup: build a stable system before the first cut
Set up a miter saw with stable mounting, level stock supports, full movement clearance, dust collection, correct power, blade checks, alignment, and a safe test cut.
Read the guide 02How to unlock a miter saw: identify the lock before applying force
Unlock a miter saw safely by identifying head, slide, miter, bevel, and transport locks, supporting the head, using the manual, and stopping when controls bind.
Read the guide 03Rolling miter saw stand: mobility without trading away stability
Choose and set up a rolling miter saw stand by tool fit, load rating, wheel locks, extensions, terrain, folding sequence, transport balance, and storage.
Read the guide 04DIY miter saw stand: design from loads and clearances, not a photo
Plan a DIY miter saw stand around rated structure, secure mounting, level stock supports, full movement clearance, stability, portability, and test loading.
Read the guide 05Miter saw zero-clearance fence: back the cut without hiding hazards
Plan a miter saw zero-clearance fence with exact mounting, flat support, blade and guard clearance, safe kerf creation, bevel limits, and replacement.
Read the guide 06Miter saw laser vs shadow line: use either as a guide, not proof
Compare a miter saw laser and blade shadow line by kerf indication, calibration, ambient light, blade changes, retrofit compatibility, care, and test cuts.
Read the guide 07How to mount a miter saw to a stand: verify the bracket connection
Mount a miter saw to a compatible stand by checking bracket fit, load rating, fasteners, base support, latch engagement, clearance, and test loading.
Read the guide 08How to mount a miter saw to a workbench: support the base and full envelope
Mount a miter saw to a workbench with rated structure, correct fasteners, a flat supported base, full movement clearance, level wings, and test cuts.
Read the guide